Saturday, 30 April 2011

Tissue Paper Flower Balls

These dahlialike pom-poms appear to float in the air; in reality, they are hung from the ceiling with monofilament, imparting a cheerful radiance to any party.

Stack eight 20-by-20-inch sheets of tissue. Make 1 1/2-inch-wide accordion folds, creasing with each fold. 

Fold an 18-inch piece of floral wire in half, and slip over center of folded tissue; twist. With scissors, trim ends of tissue into rounded or pointy shapes.

Separate layers, pulling away from center one at a time.

Bend wire into a loop to fit around napkin, and twist end around loop to secure. 

Have fun :) 


Thursday, 28 April 2011

Black and White Inspiration Board

This is an inspiration board that we have put together for a new client meeting tomorrow :) 


Enjoy :)


Monday, 25 April 2011

The Sweetest Trend in Weddings.............. The Candy Station


Candy bars, candy buffets and candy stations are the sweetest thing to happen to a bride since the cupcake. Brides from New York City to Invercargill are requesting candy stations at their engagement parties, showers and wedding receptions because they are budget friendly, a popular treat, can blend with any decorator's color scheme and are available in wide variety of flavor options. In addition, dessert bars in general are growing in popularity from cookies & milk to marshmallow buffets and late night snack bars.


Candy stations can be created in a variety of styles, sizes, color schemes and themes. When deciding on what look you would like to achieve with your candy station you may want to consider these very popular options.

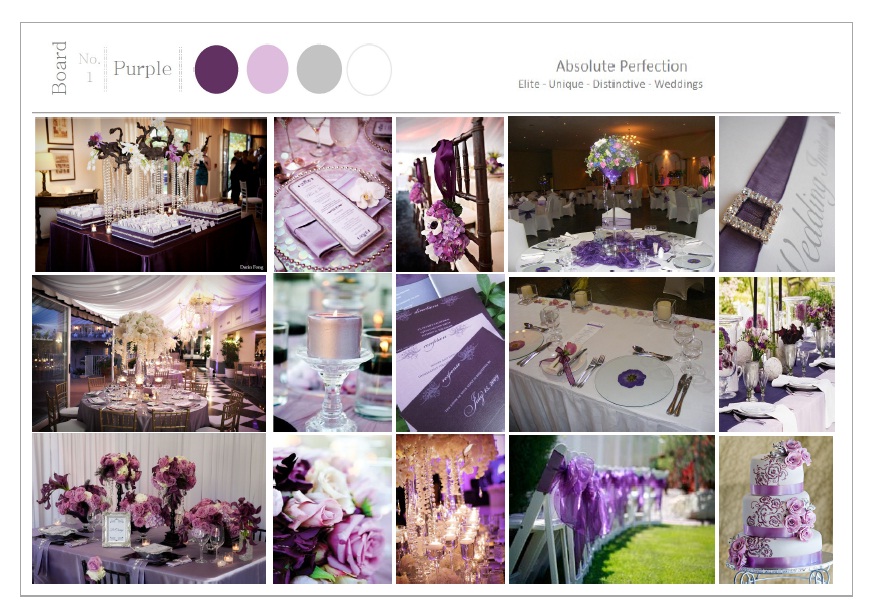
The Monochromatic: This would consist of a single color of candy as well as variations of that color in different shades, tones and tints. For example a pink candy station may contain hot pink, dark pink and baby pink varieties. Unwrapped candy selections look best when creating a monochromatic candy station. These candy stations are clean and modern and create a beautiful high-end look.


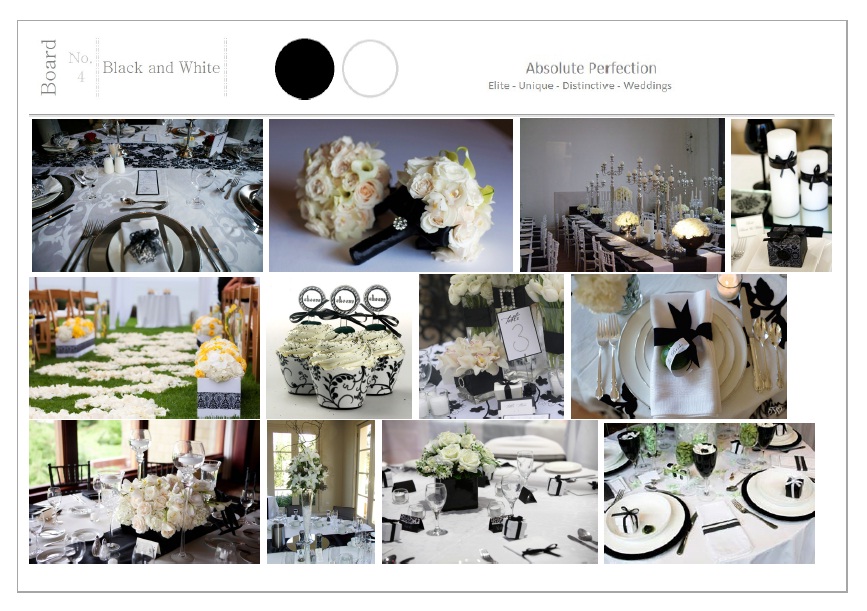
Complimentary Wedding Colors: A Candy station that is created in your selected wedding color scheme will always compliment your event and match the décor & flowers. For example, if your wedding colors are lush red roses and black and white linens, chairs and red or amber lighting, your candy station may consist of lots of Red, Black and White Candy. Creating patterns with the candy in jars or layering 2-3 kinds of candy like jelly beans or M&M's creates a modern look. Adding touches like rock candy sticks or gourmet lollipops also enhances the design of your candy station.

Whimsy and Colorful: Consisting of a variety of colorful candy. Colorful candy stations are whimsical and loved by all. These tables would typically contain a large assortment of unwrapped and wrapped candies as well as nostalgic candy. This style is perfect for the ultimate candy lovers who want to create a candy station that is both nostalgic and fun. The colors that work best with this type of candy station are bright and bold: Yellow, blue, red, green, orange, purple and pink.


Chocolate Candy Station: An all chocolate candy station is perfect for the choc-o-holic. This would consist of a variety of chocolate selections including Milk, Dark and White Chocolates. Other selections may include imported chocolates and truffles, bon- bons, chocolate covered marshmallows, chocolate dipped strawberries and pretzels, malt balls and more. Keep in mind that an all chocolate candy station will cost more as chocolates are simply more expensive whether purchased by the kilo or in bulk.

Many brides will attempt at creating their own candy stations or have their wedding planners assist in taking on the task. There are also fantastic companies who specialize in creating candy stations. When hiring a professional company to create your candy station the benefits can be found in their expertise, design and cost. The savings can be hefty as these companies provide all items needed like jars, scoops and décor as free rentals.


TIPS:
When opting for a candy station make sure you have enough candy for every guests to take home unless you are simply serving it as a dessert bar at your event. In that case, you may want to provide just enough so guests can snack on treats throughout the evening. Location, location, location! Check the layout of your venue and set up your candy station in an area that will not cause a traffic jam. Sometimes candy stations cause so much excitement you have everyone cramming into one area to grab their goodies and it could get a bit hectic. A popular idea is to have the candy station set up during the latter part of the evening in a foyer or selected area and as your guests head home they leave with a sweet lasting impression of your very special day.


Sunday, 24 April 2011

Winter Wonderland

And here's another one - This is our inspiration board for the Glendowie School Ball Committee. 
We have been lucky enough to be asked to be involved in styling their ball!! Im so excited about this function I can barely contain myself :)

- Danielle


Purple Inspiration

This is an inspiration board that we have put together for a new client of ours. 
I hope you all manage to get some useful ideas from it. 

- Danielle 


Saturday, 23 April 2011

DIY String Balls


I came across this article while looking for some ideas for The Glendowie School Ball that we are styling at the Auckland Museum. 

Anyway, I love, love, love this and its such a great alternative to chinese lanterns. :)

Firstly, you’ll need a sunny day and some space outdoors. I’ve tried doing this indoors and it isn’t worth the clean up job – this gets seriously messy. So wear clothes which you don’t mind getting messed up, and prepare a space outdoors, preferably with some shade so your balloons don’t bear the full heat of the sun.

In addition, you’ll need:

a large bottle of PVA glue
good quality balloons
thick, stiff string (I used wrapping twine from Mitre 10, a synthetic string which will hold shape well)
scissors
an old ice cream container or similar, to dip the string into PVA
vaseline (not necessary, but you may prefer to use it)
a hanging station for wet balloons – you can peg them to a clothes horse or similar.


Blow a balloon up to your preferred size. Start smaller, until you get the hang of things. Also, it’s best if you don’t blow them up to full size, to make the shape rounder.

Next, pour PVA into a container. The DIY tutorial I found suggested a cornflour/water mixture rather than PVA, but I found this didn’t hold as well as I would like – the finished product felt a bit flimsy. Maybe it was because the string I opted to use was very thick, but you may need to try some options to figure out your preference in relation to the string you’re using.

At this point, you may wish to coat your balloon in vaseline, so that when you pop the balloon after it’s dried, it won’t stick to the string. This was actually a source of much frustration for me, as I found it difficult enough to wind wet string around a balloon without it already being an incredibly slippery surface. In the end, I left vaseline out and it was fine – I had to pull the balloon off the string in some places but nothing too dramatic.

There are several ways in which you can apply PVA-soaked string – it’s handy to have a friend soak lengths of string while you wrap. Don’t be tempted to dunk an entire pile of string into PVA at once – I’ll guarantee you’ll get in a tangled mess.

I tied the string at the knot of the balloon to make it more maneagable, and wound vertically at first, followed by horizontal lengths. Every time you start a new piece of string, tuck it into a criss-cross piece of the string ball.


You’ll note the pieces of balloon on the grass – that’s what’s left of the one which exploded as I was winding string, and left me with a face spattered in PVA. Be gentle with the balloons which are blown up large!

Peg it out to dry on a clothes horse, which you can then bring indoors in the evening (don’t forget to line your floor with newspaper). Wait AT LEAST 24 hours – I’d recommend a couple of days at least, until the string is absolutely bone dry. Pop the balloon, and poke out any PVA crystals which may have formed between the holes.


 Voila! I think these string balls will look great strung on fishing line with fairy lights, or in a cluster as a chandelier.You can also spray paint the balls any colour you like.

Above all, have fun and don’t let failed attempts get you down – it’s not as easy as it looks! And, if you end up with a deflated string ball, you can still pull it apart and re-use the string.


Happy Planning  


-Danielle

Welcome to the official Absolute Perfection Blog

Hooray we have a blog! Now we just have to learn to use it!! 
On this blog you will find things that we've done, things that we love and things that we would love to do :) I hope that you all get as much fun from this site as I'm sure I will :) 
- Danielle